Nakashi art is a heavy procedure. From collecting old metal pieces, to cleaning and polishing them, designing very intricate patterns using nail and hammer, to blackening the pots using a dangerous chemical and fire, and to finally adding white colour in the holes using calcium. It takes a long time to complete one item, and of course much subtlety and talent. It is unique in itself, not to be found anywhere and everywhere in your typical Indian souvenir shop.
Step 1

Old metal pieces are found and collected from small villages (or towns) of the Bundelkhand region of Madhya Pradesh, usually 50 to 300 km away from Khajuraho. Places in which pieces were previously found include Datiya, Karvi, Chhitrakut, Charkari, Chitrayi, Bamnora and Kundarpura.
The pieces are nearly hundred years old. They are typical daily life accessories such as pots, jewellery boxes, chapati boxes, spoons, toys, house decoration items etc. Not any mythological statues older than 90 years old however, because using them to create Nakashi would be illegal – such old statues indeed are considered to be part of the historical heritage; it is thus forbidden to use them towards a profitable end.
The pieces are usually made of bronze, which is a mixture of brass, copper, and sometimes other white metals. Some pots however are just made of brass, others only of copper.
Step 2
The item is cleaned and polished, first with a lime firstly, and then with sand paper. After this long process of strong physical work, the item thus polished has become smooth and shiny.


Step 3

The piece is then ready for the design to be made. The artist uses a nail and a hammer to create very precise and intricate drawings representing religious and traditional daily life situations, such as:
- Hindu gods & goddesses;
- Symbols of Hindu religion (e.g. OM, or the original swastika which is a symbol of good luck);
- Maharaja history (pictures of daily life such as dinner and drinking with women);
- Khajuraho Temple history – depiction of Kama Sutra positions and apsaras (i.e. female grooming such as applying make-up, dressing, putting on jewellery etc.);
- Local animals (elephants, tigers, deers, dogs…), birds (parrots, crows, ducks…) and fish.


Step 4

The next step is to blacken the item. The artist uses a cloth imbibed with a solution of sulphuric acid to which he has added a pinch of gold, silver, white metal and copper. The gold and silver make the black colour, white metal gives shine, and the copper strengthens the colour so that if rubbed it will not go. Obviously this is a very dangerous chemical solution, and the artist must use the imbibed cloth with a long tool – and with extreme caution.
Step 5
The blackening procedure is not finished yet: after the acidic treatment, the pot still needs to be burnt with a blowtorch, like this.

Step 6
Once black, the item is thoroughly washed in water.

Step 7
After the piece has dried, the final step is to rub it thoroughly with a paste of calcium and water. The calcium will hold only inside the holes, so only the drawings will become white.


Result
Actually, the artist may use two kinds of calcium paste: One in which the calcium has been mixed with some white mud, to make the finishing colour very bright and white, or one in which the calcium has been mixed with some red mud, to make the finishing colour more subtle and yellow.
Calcium with white mud


Calcium with red mud
For a medium-size pot (diametre of about 15 cm) it may take about seven to ten days for the work to be completed. A big pot (diametre of about 30 cm) will take about a month of hard work.
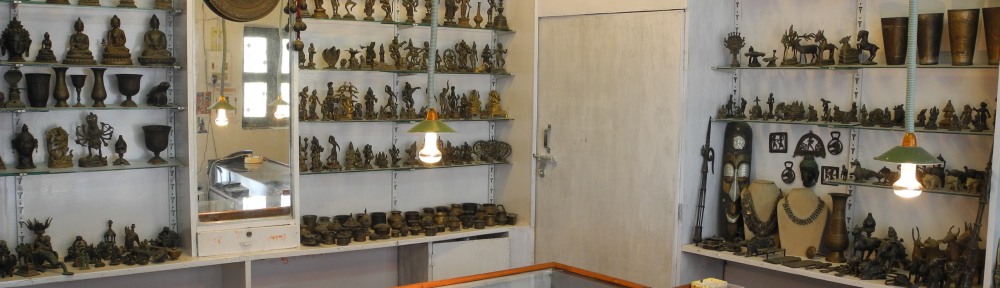
For a sample of the nakashi pieces on sale in the shop, you may visit the handicraft sample section.
Click here to view our complete, updated catalogue.
